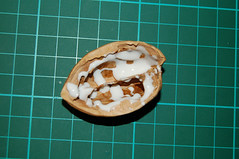
A primeira coisa a fazer é abrir as nozes, inserindo a ponta de uma faca na extremidade mais pontiaguda do fruto. Com cuidado para não partir a casca e, principalmente, para não furar um dedo, fazer deslizar a faca entre as duas metades da noz. Comer o miolo.
Start by opening the walnut shell by inserting the tip of a knife in the sharpest end of the fruit. Carefully slide the knife along the two halves of the shell. Try not to break it and not to cut yourself. Eat the inside.
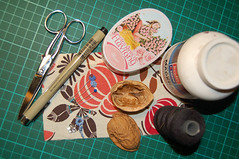
De seguida há que reunir os materiais: casca de noz, retalho de tecido, linha, tesoura, agulha, cola branca, molde oval ou redondo, alfinetes, marcador ou lápis e espuma de enchimento (que me esqueci de fotografar).
Assemble all that you'll need to start: walnut shell, piece of fabric, thread, scisors, needle, white glue, oval or round template, pins, pen or pencil and filling (that I forgot to include in this picture).
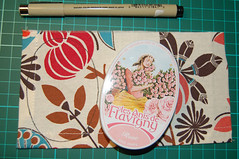
Traçar o contorno do molde escolhido no tecido.
Trace around the template on to the fabric.

Cortar, deixando mais uns 5mm a toda a volta.
Cut around adding about 5mm for seam allowance.
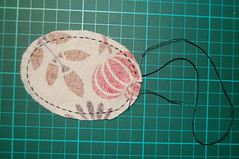
Coser com ponto corrido sobre a linha.
Sew over the line with running stitch.

Puxar as duas extremidades da linha para obter uma especie de saquinho.
Pull both ends of the thread in order to create a small pouch.
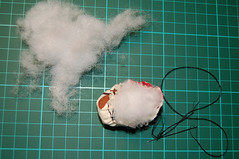
Encher com a espuma de enchimento, pois claro!
Stuff with the filling.
Atar as duas extremidades da linha e fechar dando uns pontos.
Tie together both ends of the thread and close the opening with a few stitches.
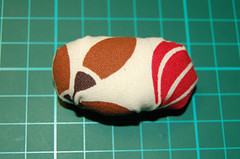
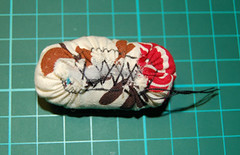
Obter-se-á qualquer coisa deste género.
By now you should have something like this.
Colocar uma quantidade generosa de cola branca no interior da casca de noz.
Spread a good quantity of white glue inside the nut shell.
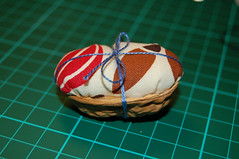
Colocar a almofada sobre a casca e atar com um cordel para fixar. Deixar secar durante, pelo menos, 2 horas.
Place the little cushion inside the walnut shell and tie a piece of yarn around it. Let it dry for at least 2 hours.

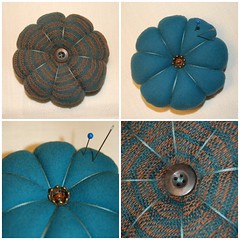
Embelezar a gosto...
Add some adornments...
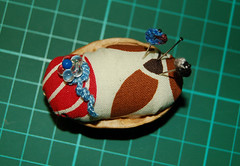
et voilá!

 A eterna alegria de ter gatos!
 Durante uns tempos vou dedicar-me à tinta, no entanto conto fazer uns intervalos com linha.